
Find the Best eSIM Data Plans for Travel Without the Roaming Hassle
Ever wished you could switch data plans as easily as changing apps on your phone? An eSIM data plan is a digital SIM profile you download straight to your device, so there’s no physical card to insert or swap. You simply scan a QR code or enter an activation code, choose a local or global data package, and you’re online in minutes—often at a fraction of roaming costs. With instant activation and effortless switching, you can manage multiple plans right from your settings, perfect for travelers or anyone who values flexibility.
What Exactly Is an eSIM Data Plan and How Does It Differ from a Physical SIM?
An eSIM data plan is a digital profile embedded directly into your phone, tablet, or smartwatch, replacing the need for a plastic card. Unlike a physical SIM, which you must insert and swap, an eSIM is activated by scanning a QR code or downloading a carrier profile. This means you can switch between multiple carriers instantly without visiting a store or waiting for a new card to arrive. The key practical difference is flexibility: a physical SIM locks you into one carrier until you physically change it, while an eSIM lets you add a temporary travel data plan, a local network, or a secondary business line alongside your primary number. There’s no slot to damage, no card to lose, and the chip is soldered inside your device, making it more durable for frequent travelers.
Understanding the embedded SIM technology behind your next connection
Understanding the embedded SIM technology behind your next connection starts with the chip itself: a solder-mounted eUICC that cannot be removed or swapped. Unlike a physical SIM, this chip holds multiple profiles, but only one active profile connects to a network at a time. When you purchase an eSIM data plan, you download a profile—essentially a digital credential set—over the internet, not from a store. Activation becomes instant because your device’s modem reads the profile directly from the embedded chip. This design removes the need for a tray, freeing internal space for other hardware. For troubleshooting, you manage profiles through your device’s settings menu, not by physically moving a card, meaning a failed switch is resolved by re-downloading a profile, not visiting a carrier.
Key differences between a traditional plastic SIM card and a digital profile
The core distinction lies in physicality versus software. A traditional plastic SIM is a tangible chip you must insert, swap, and physically manage, while a digital profile is a software-based configuration downloaded directly onto your device’s embedded eSIM chip. With a plastic SIM, changing carriers means waiting for a new card, but a digital profile lets you switch networks instantly by scanning a QR code or tapping a carrier app. This makes a plastic SIM a fixed, one-carrier commitment, whereas a digital profile offers immediate, multi-network flexibility without hardware handling.
- Plastic SIM requires physical insertion; digital profile downloads in minutes via internet.
- Swapping carriers with plastic means buying a new card; with digital, you just add another profile.
- A plastic SIM can be lost or damaged; a digital profile is securely stored on the device’s chip.
- Plastic SIM occupies a physical slot; digital profile frees that space for other hardware.
How Do You Activate and Start Using a Digital SIM Profile on Your Phone?

To activate an eSIM data plan, first ensure your phone is carrier-unlocked and eSIM-compatible, then scan the QR code or manually enter the activation details provided by your data plan provider. After installation, assign the eSIM as your primary data line in Settings under Cellular or Mobile Data, and enable data roaming if your plan requires it. If activation fails, restart your phone and verify the plan’s IMEI eligibility. Q: What if the QR code won’t scan? A: Manually input the SM-DP+ address and activation code from your provider’s email. Once connected, test your connection by toggling airplane mode, then monitor data usage directly in the eSIM’s settings menu to avoid overage charges.
Step-by-step setup process for iOS and Android devices
On iOS, open *Settings > Cellular > Add eSIM*, then scan the QR code from your carrier or choose manual entry; follow the on-screen prompts to label the line and set it as default for data. For Android, navigate to *Settings > Network & Internet > SIMs > Add eSIM* (Samsung: *Connections > SIM manager*), scan the same QR code, and confirm activation. After installation, ensure mobile data toggles to the new profile; if no signal, restart the device and re-check APN settings. Both platforms require a Wi-Fi or cellular connection during download, and activation typically completes within two minutes. Bluetooth tethering setup must be disabled to avoid profile conflicts.
**Q: What is the first step to install an eSIM on Android?**
A: Open your device’s SIM manager (under Network settings), tap “Add eSIM,” and scan the carrier QR code—this triggers the remote provisioning download.
Scanning a QR code vs. manual entry: which method works best?
When setting up an eSIM data plan, scanning a QR code is almost always the better choice than manual entry. It’s instant, eliminates typos, and the carrier’s profile loads with the correct APN settings automatically. Manual entry works only if your carrier gives you a long activation code—usually a mix of letters, numbers, and slashes—and it’s painfully easy to mistype one character, forcing you to restart. QR code scanning wins for speed and accuracy, especially on a small phone screen. Here’s the practical order: open your settings, tap “add eSIM,” scan the code, then confirm. Manual entry is a fallback—only useful if the QR code is damaged or you’re on a device without a camera.
What to do if your device doesn’t support eSIM activation
If your phone lacks eSIM support, don’t panic—your data plan isn’t wasted. First, check if your carrier offers a **physical SIM fallback option** for the same plan, letting you swap the SIM card into your device. Alternatively, use a Wi-Fi hotspot or a secondary phone with eSIM to activate the profile, then tether data to your main device. Some providers also allow you to transfer the plan to a compatible tablet or laptop. If none of these work, contact support to cancel or pause the plan without penalties.
Q: What to do if your device doesn’t support eSIM activation?
A: Request a physical SIM from your provider, or use an eSIM-compatible device as a mobile hotspot to share the plan’s data. Always verify your phone’s compatibility before buying an eSIM plan to avoid this hassle.

What Are the Real Benefits of Switching to a Virtual Data Package for Travel and Daily Use?
Switching to a virtual eSIM data package eliminates the physical SIM swap, letting you activate a local plan in minutes via QR code—no hunting for storefronts or fumbling with tiny trays. For travel, you keep your primary number active for calls and banking OTPs while enjoying affordable data on the same device, sidestepping roaming surcharges entirely. Daily, it’s a cost-control tool: you can top up precisely when needed, avoid carrier lock-in, and instantly switch between networks if coverage weakens, all from a settings menu. However, the real gain is psychological—knowing your connectivity is a configurable utility, not a hardware commitment. You arrive with working internet, not a recovery plan. Your pocket stays lighter, and your phone’s SIM slot stays untouched. It’s simply the more agile way to stay online.
Instant connectivity upon landing without hunting for local SIM vendors
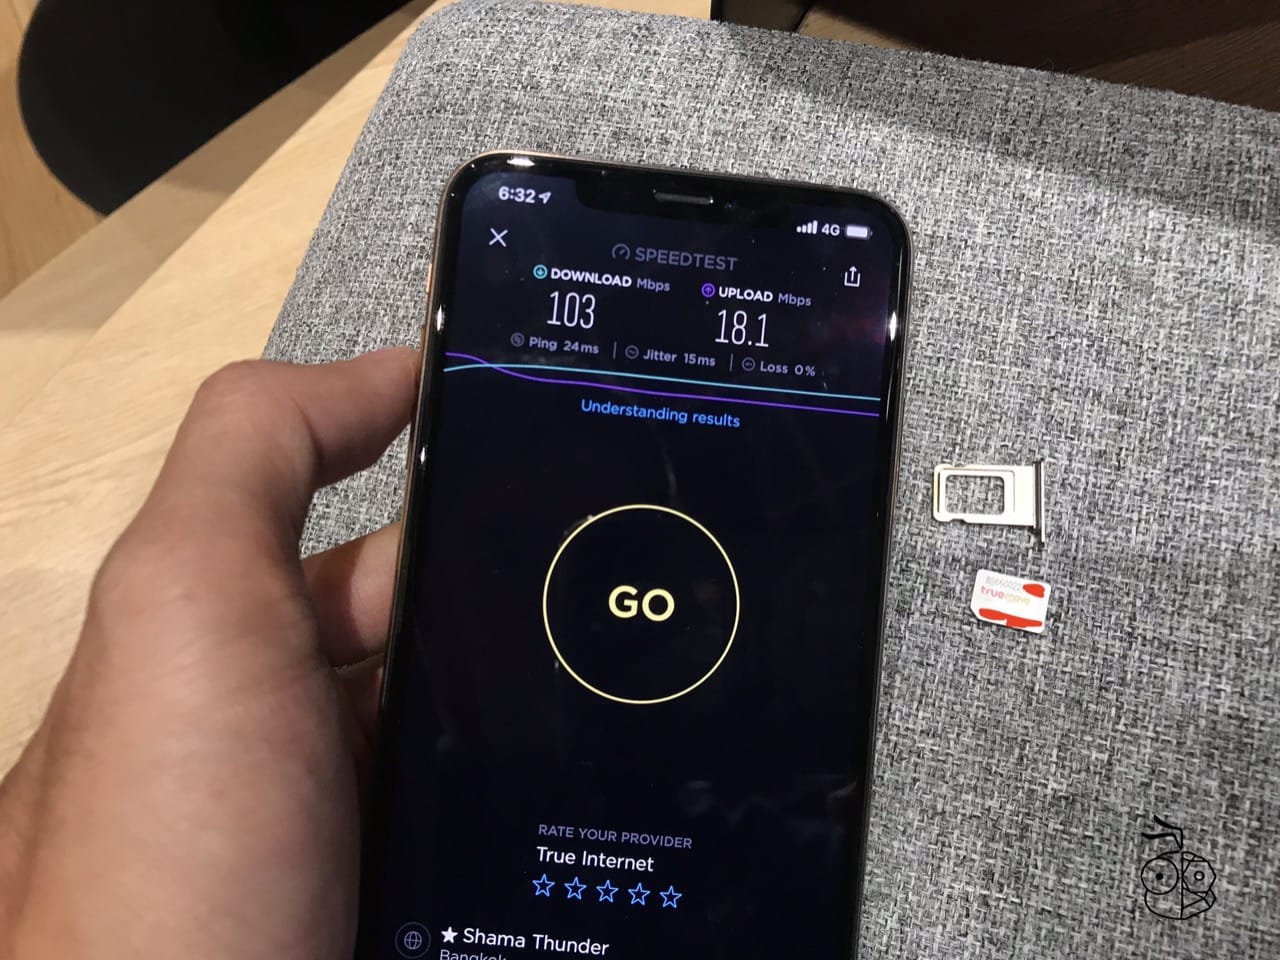
The most immediate, tangible advantage of an eSIM is instant connectivity upon landing, eliminating the frantic hunt for a local SIM vendor. You power on your device, and the data profile activates automatically, often before you clear the arrival gate. This removes the need to navigate foreign-language kiosks, queue at crowded shops, or rely on unreliable airport Wi-Fi while searching for a physical SIM. The activation is pre-configured, so your phone connects to the local network in seconds, allowing you to call a ride-share or message your accommodation immediately. This seamless transition means you are fully operational the moment your feet touch the tarmac, with no logistical friction or wasted time in an unfamiliar environment.
An eSIM ensures your data is live the second you land, completely bypassing local SIM vendors and their associated queues.
Keeping your primary number active while using a secondary data line
Keeping your primary number active while using a secondary data line hinges on dual-SIM functionality, typically via a physical SIM for calls and an eSIM for data. This setup ensures your home number remains reachable for SMS and voice, even when roaming, while the virtual package handles bandwidth-intensive tasks. Crucially, you must disable data roaming on the primary line to avoid accidental charges; the secondary line becomes the sole internet source. This separation preserves your identity for two-factor authentication and banking alerts. Active primary number retention requires manually selecting the secondary line for cellular data, and optionally setting the primary for calls only.
Q: Does using a secondary data line drain the primary number’s battery faster?
A: Yes, because both radios operate simultaneously, but modern eSIMs use minimal power for idle voice standby, so impact is marginal—roughly 5–10% extra daily drain.
Cost savings on roaming fees and flexible short-term data bundles

The most immediate win with an eSIM is the **dramatic reduction in roaming fees**, as you swap carrier-negotiated daily rates for local or regional data prices that are often a fraction of the cost. Instead of paying a fixed daily charge, you purchase flexible short-term data bundles—like a 1GB pack for three days or a 10GB monthly plan—that align precisely with your itinerary. This eliminates the “leftover data” waste typical of rigid plans, ensuring you only pay for what you actually consume.
Why are flexible short-term data bundles the key to avoiding roaming charges? Because they let you match your connectivity spend to real usage, preventing the sticker shock of a hefty post-trip invoice while keeping you online on your own terms.
How to Choose the Right Mobile Data Package Based on Your Travel Destinations and Usage Habits?
Choosing the right eSIM data package begins with mapping your destination’s network landscape—if you hop between multiple countries, a **regional plan** beats single-country bundles, while one long stay favors a local carrier’s high-volume option. Audit your usage habits first: heavy video streaming or live navigation demands 5–10 GB weekly, whereas messaging and map lookups need only 1–2 GB. Check whether your eSIM includes hotspot tethering, as many travel plans throttle or block it, silently draining your laptop’s productivity. Prioritize plans with flexible validity windows (e.g., 7, 15, or 30 days) that align with your exact trip length, avoiding expired data you paid for.
Never buy the cheapest per-GB deal without confirming it routes through a primary network in your destination—regional “global” plans often deprioritize speeds, making video calls and real-time transit apps frustratingly slow.
Finally, download the eSIM profile only after landing, since activation timers often start at purchase, not first use.
Comparing regional, global, and single-country data allowances
When comparing regional, global, and single-country data allowances for eSIMs, assess your itinerary’s geographic spread against total anticipated consumption. A single-country plan offers the lowest cost per gigabyte if you remain in one nation, but becomes useless at a border crossing. Regional allowances—covering clusters like Europe or Southeast Asia—provide seamless multi-nation roaming at a moderate premium, ideal for a 2–3 country circuit. Global plans maximize convenience but often cap high-speed data at 5–10GB, after which speeds throttle. Before purchasing, map each destination’s duration: regional beats global for concentrated trips, while global wins for haphazard long-haul stopovers. Always verify that the allowance’s coverage map includes every transit country, not just final destinations.
- Calculate per-day consumption across all countries to determine whether a pooled regional allowance or separate single-country eSIMs are cheaper.
- Check if regional plans include “at home” countries—some exclude the user’s home nation, forcing a separate top-up.
- For global plans, confirm whether the allowance applies uniformly or varies by country tier (e.g., 4G in primary zones, 3G elsewhere).
- If you cross borders frequently, regional beats single-country despite higher per-GB cost, as reactivation fees erase $1 eSIM small savings.
Evaluating network speed tiers: 4G LTE vs. 5G availability on virtual plans
When choosing an eSIM, don’t assume 5G is always superior; evaluate speed tiers by destination. 4G LTE vs. 5G availability on virtual plans hinges on local infrastructure, not the plan’s marketing. In rural or developing regions, 4G LTE often delivers more consistent coverage than patchy 5G, while major cities in Japan, South Korea, or the US favor 5G for heavy uploads. Check the eSIM provider’s coverage map for specific countries, then match the tier to your activity—streaming demands 5G, but navigation and messaging work fine on LTE. *A cheaper 4G-only plan beats a premium 5G package that never connects outside urban cores.* Prioritize real-world availability over raw speed claims.
Understanding data caps, fair usage policies, and top-up options
When picking an eSIM, always check the fair usage policy for eSIM travelers, because “unlimited” plans often throttle speeds after a daily or weekly data threshold—streaming maps or video can hit that fast. Look at the hard data cap, not just the price, and match it to your habits: light browsing needs less, constant photo uploads need more. If you run out, top-up options are usually available right in the provider’s app, letting you buy extra gigabytes in small chunks without changing your plan. Compare top-up costs per GB before you buy, as they vary widely, and choose a provider that lets you extend the same plan instead of forcing a new purchase.
Understand your cap, respect the fair use rule, and know your top-up price—this trio keeps your travel data smooth and surprise-free.
What Common Problems Do First-Time Users Face with Digital SIMs and How Can You Solve Them?
First-time users often struggle with eSIM data plans due to activation confusion, especially when scanning a QR code that fails to provision instantly. A common fix is confirming your device is unlocked and checking that the plan’s coverage region matches your physical location before purchasing, as carrier settings updates can delay activation by up to 15 minutes. Another frequent issue is accidentally deleting the eSIM profile, which erases your data plan without a refund. Solve this by storing the QR code or activation code in a secure cloud note immediately after purchase. Additionally, users hit connectivity problems when data roaming is disabled; toggle it on even for local networks, then manually select the correct APN from the provider’s support page.
Troubleshooting no-signal issues after switching profiles
Switching profiles and getting a dead signal is super common, but it’s usually quick to fix. First, **check that the correct profile is actually active** in your phone’s cellular settings—having two profiles installed means the wrong one might still be selected. Next, toggle Airplane Mode on for 30 seconds to force a network re-registration. If that fails, manually pick your carrier under “Network Selection” instead of leaving it on automatic. Still nothing? Delete the inactive profile entirely, then restart your phone. Finally, verify your APN settings match your new plan’s instructions, since a mismatch silently kills data. Follow this order to avoid wasted time.
Managing multiple eSIM profiles and switching between them effortlessly
Managing multiple eSIM profiles can feel chaotic, but with the right approach, switching between them becomes a non-issue. First, label each profile clearly (e.g., “Travel – Japan” or “Home – Verizon”) in your device’s cellular settings to avoid accidental selections. When you need to swap, avoid deleting the inactive profile—simply toggle it off, and your phone will keep its settings intact for reuse. For frequent travelers, **using the default line feature for cellular data** is a game-changer: assign your home plan for calls and your travel plan for data, and your phone auto-routes traffic. If a profile fails to activate, restart your device or re-scan the QR code from your carrier’s confirmation email—this resolves most hiccups within seconds. Pre-download all profiles before departure, then run a test toggle to ensure you’re comfortable with the interface.
Q: How do I switch between eSIM profiles without losing my primary number?
A: Go to Settings → Cellular, tap the inactive profile, and choose “Turn Off This Line.” Your main number stays active, and you can re-enable the other profile anytime without re-downloading. This method takes under ten seconds and preserves all your saved configurations.
What happens to your unused data when the plan expires?
When your eSIM plan expires, **unused data is forfeited immediately**—carriers do not roll it over to a new plan or refund its value. The data balance resets to zero at the exact expiration timestamp, making the remainder useless unless you renew before that moment. If you renew, some providers apply the old balance to the new cycle, but most treat expiry as a hard cutoff with no grace period. Thus, timing your top-up is critical; otherwise, you pay for gigabytes you never consume.
Unused data loss at expiry is the single most common frustration for first-time eSIM users who overestimate their needs.
**Q: What happens to my unused data when the plan expires?**
A: It is permanently deleted from your account—no rollover, no cashback, and no extension unless you renew within seconds of expiration, which some apps allow.